Implementing Schema markup and improve the user experience when clients interact with your business online. This is by far one of the most overlooked elements in Local SEO that many businesses simply neglect.
When used correctly, it can drastically improve your visibility in search engine results, especially for local businesses looking to improve their Google My Business (GMB) organic rankings.
In this article, we’ll look at how implementing schema markup can complement your GMB page, provide clear steps and instructions on how to do it, and highlight common issues most websites forget to address so that you outshine your competitors digitally.
Table of Contents
- What is Schema Markup?
- Why Implement Schema Markup for GMB?
- Step 1: Choosing The Right Schema Markup For You
- Step 2: Generate and Implement Your Schema Markup
- Step 3: Validate, Testing And Error Fixing
- Step 4: Monitoring and Maintenance
- Common Issues and Mistakes to Avoid
- Still Need Help With Your GMB Rankings?
What is a Schema Markup?
Schema markup, or structured data, is essentially a way to give search engines a clearer understanding of what your website is about. Think of it as like a translator that helps Google and other search engines interpret your site’s content more accurately.
By adding this code to your website’s HTML, you’re providing search engines with specific information that they can use to enhance your visibility in search results.
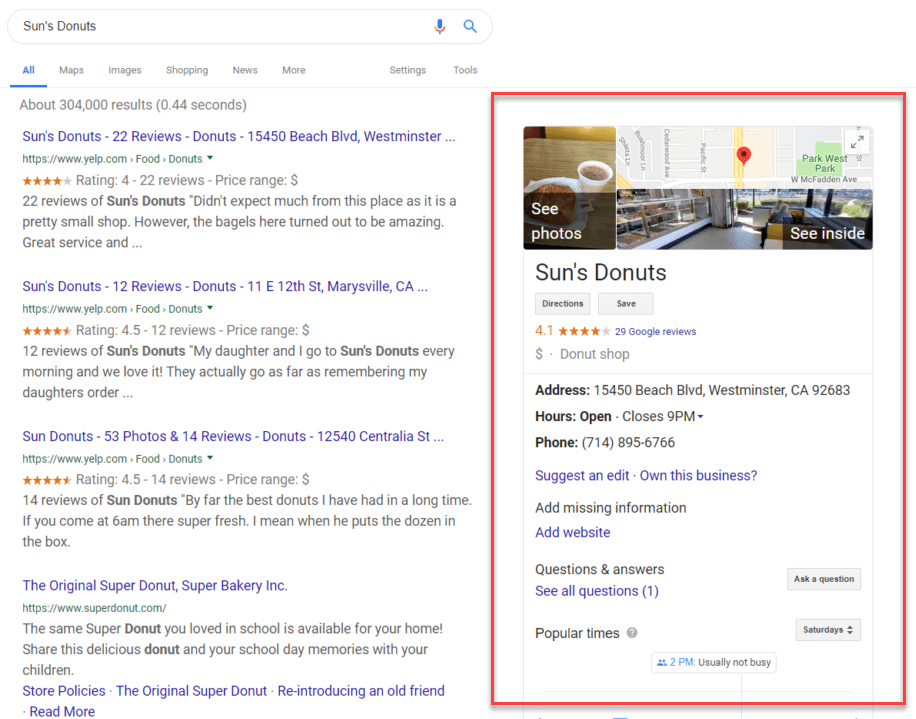
For instance, with schema markup, you can highlight key details about your business, such as customer reviews, your operating hours, and upcoming events.
This information can then appear directly in search results, giving potential customers a quick snapshot of what your business offers without needing to click through to your website.
But don’t we want more clicks? Yes of course but it helps to better understand what your clicking at before you do so.
When you implement schema markup, you’re essentially making it easier for Google to find and understand your site, which can boost your rankings and especially in local searches and that’s huge for your Google My Business Page.
Why Implement Schema Markup for Google My Business?
When it comes to local SEO, implementing schema markup is really important and has a noticeable impact for several reasons:
Enhanced Search Visibility: Schema markup allows your business to stand out in search results by providing additional information directly on the search page. This can include things like your business hours, location, and customer reviews, which can attract more clicks.
Improved Google My Business Ranking: By helping Google understand your business better through structured data, you increase the likelihood of your business appearing in local search results and on Google Maps.
Better User Experience: Schema markup improves the user experience by providing potential customers with key information before they even visit your website. This can lead to higher engagement and more foot traffic to your business.

Step 1: Choose The Right Schema Markup For Your Business
The first step in implementing schema markup is selecting the right type for your business. For local businesses looking to boost their GMB ranking, the most relevant schema types include:
Local Business Schema: This is the most important schema for any local business. It includes details like your business name, address, phone number, and operating hours.
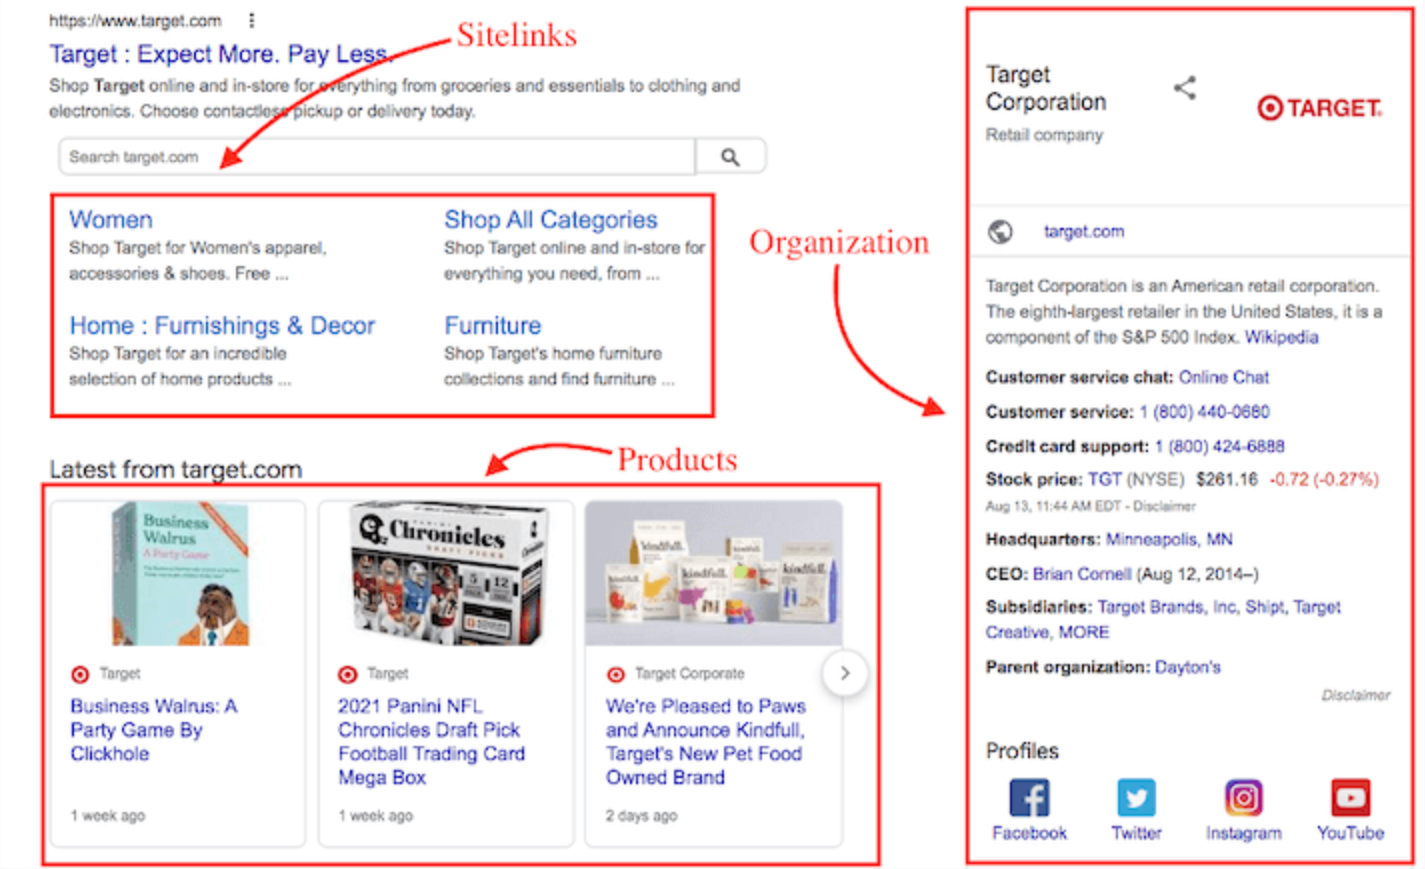
Organization Schema: This schema type is useful if your business operates under a larger organization or brand. It helps search engines understand the relationship between your business and its parent company.
Product Schema: If you sell specific products, this schema allows you to provide detailed information about those products, which can appear in search results.
Review Schema: This type of schema can display customer reviews directly in search results, which can significantly improve your click-through rate.

Step 2: Generate And Implement Your Schema Markup
Once you’ve identified the appropriate schema for your business, the next step is to generate the schema markup and add it to your website. Follow these easy steps and learn exactly how to do it:
1. Use a Schema Markup Generator
There are several tools available online that can help you generate schema markup without needing to know how to code. Some popular options include:
Google’s Structured Data Markup Helper: A user-friendly tool that guides you through creating schema markup by highlighting relevant content on your website.
Schema.org Markup Generator: A more comprehensive tool that allows you to create custom schema types for various business needs.
2. Select The Appropriate Fields
When generating your schema, make sure to include all relevant (NAP) information about your business. For a Local Business schema, this would typically include the following information you’d need to add:
- Name: Your business name as it appears on your GMB profile.
- Address: Your full business address, including city, state, and ZIP code.
- Telephone: A local phone number associated with your business.
- Opening Hours: Your business hours are in the correct format.
- Geo Coordinates: The latitude and longitude of your business location, which helps Google Maps accurately display your business.
3. Implement The Schema on Your Website
After generating the schema markup, you need to add it to your website’s HTML. This is typically done in the header or footer of your website’s code, but it can also be added to individual pages if you have different schema types for different sections of your site.
If you’re using a content management system like WordPress, you can implement schema markup using plugins such as:
Yoast SEO: Yoast SEO automatically adds structured data to your website, but you can customize it further with additional schema.
Schema Pro: A dedicated schema markup plugin that provides a wide range of schema types and customization options.

Step 3: Validate, Testing & Error Fixing After Implementing Schema Markup
Before you publish your changes, it’s crucial to validate your schema markup to ensure there are no errors. Here’s how to do it:
1. Use Google’s Structured Data Testing Tool
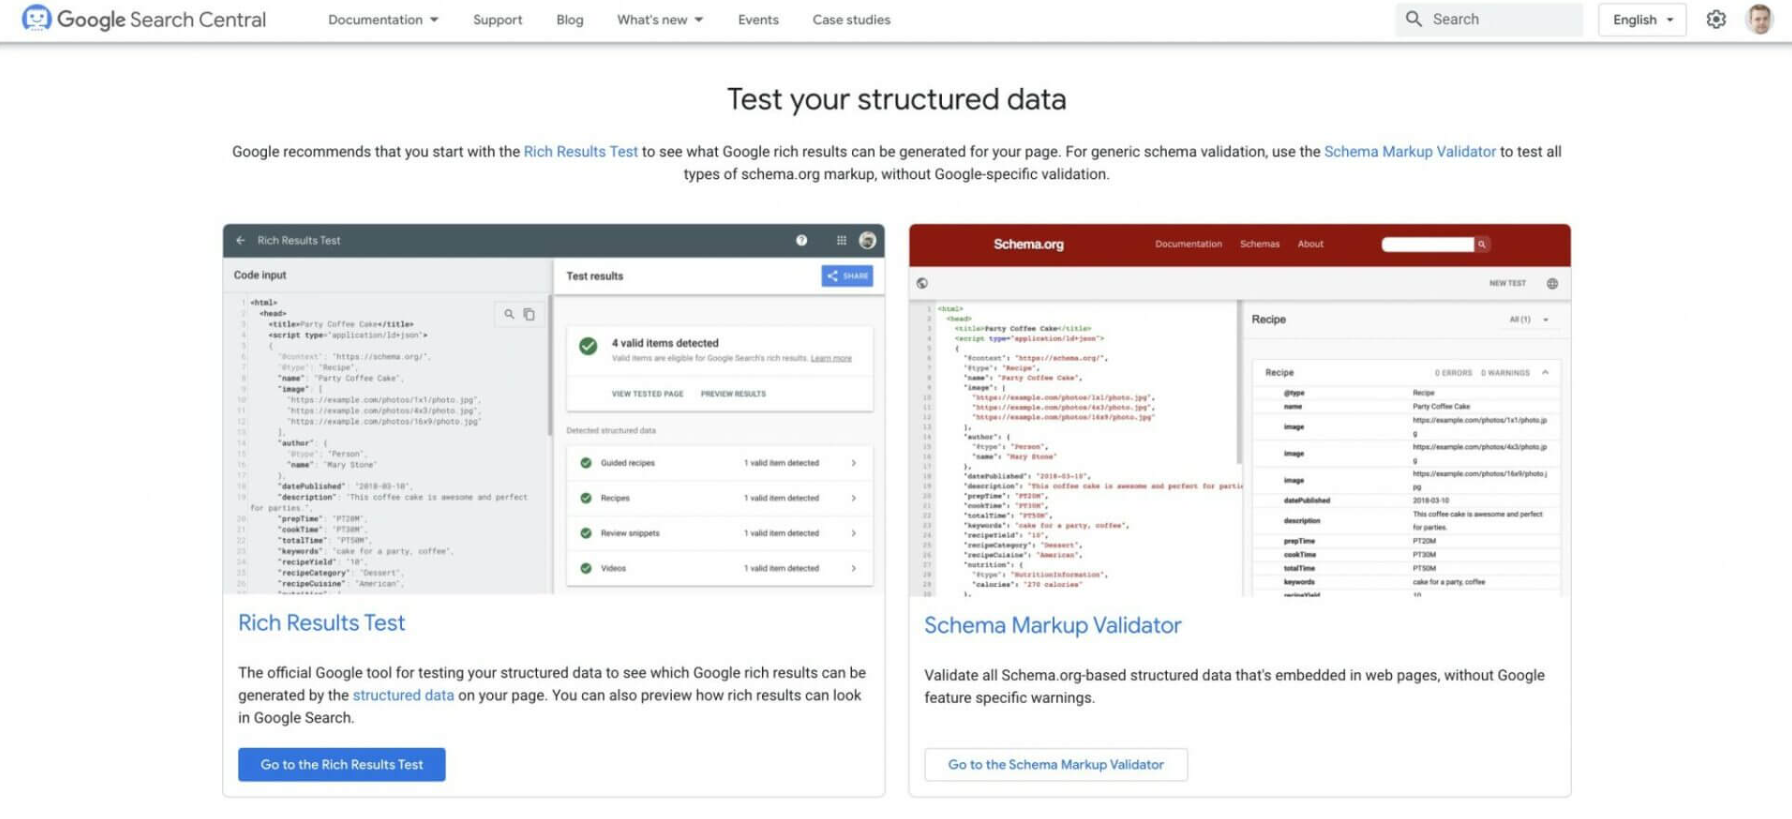
Google provides a free Structured Data Testing Tool that allows you to check your schema markup for errors. Simply paste your schema code into the tool, and it will highlight any issues that need to be fixed.
2. Test Across Multiple Pages Extensively
If you’ve implemented schema markup on multiple pages, make sure to test each page individually. Make sure that the schema is correctly applied across the entire site and that there aren’t issues with any pages.
The last thing you want is a poorly implemented schema markup that is confusing potential customers and making your business look less professional. The only way to fix this is by testing and do it on all devices.
3. Fix Any Remaining Errors
If the testing tool highlights any errors or warnings, go back to your schema code and make the necessary adjustments. Common issues include missing required fields or incorrect formatting.

Step 4: Monitoring and Maintenance
Implementing schema markup isn’t a one-time task. To ensure your schema remains effective, you need to monitor and maintain it regularly. Here’s how to do it:
1. Set Up Google Search Console
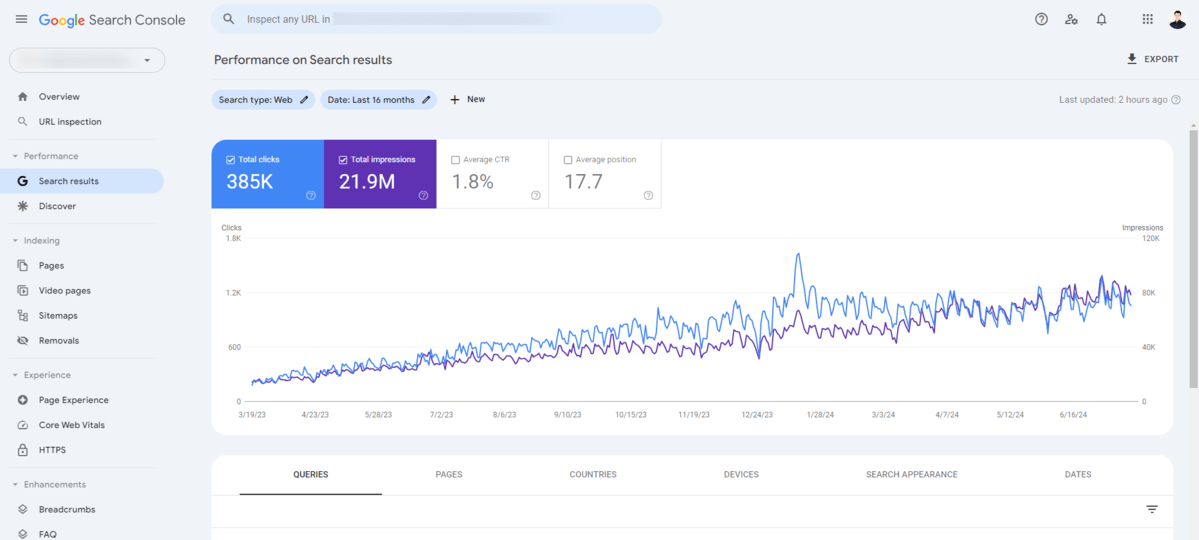
Google Search Console is a valuable tool that provides insights into how your website is performing in search results, including how your schema markup is being interpreted by Google. Use it to monitor your site’s structured data and address any issues that arise.
2. Regularly Update Your Schema
As your business evolves, so should your schema markup. If you change your business hours, move to a new location, or update your contact information, make sure to update your schema markup to reflect these changes.
3. Monitor Search Performance
Keep an eye on how your website is performing in search results, particularly for local searches. If you notice any drop in rankings or click-through rates, revisit your schema markup to ensure it’s still accurate and effective.

Common Issues and Mistakes to Avoid
While implementing schema markup can greatly benefit your overall website and Google Maps rankings, there are some common mistakes to avoid that you should defiantly know about beforehand:
Missing Required Fields: Each schema type has required fields that must be filled out. Make sure you include all necessary information to avoid errors.
Incorrect Data Types: Ensure that the data you provide matches the expected data types for each field. For example, phone numbers should be in a standard format.
Outdated Information: Schema markup is only effective if it reflects your current business details. Regularly update your schema to ensure it’s accurate.
Still Need Help With Your GMB Rankings?
If you are looking to offload the workload that comes with managing your Google Business page or Improving your GMB rankings. Then I highly recommend you book a free consultation with the writer of this article, Ramzy, CEO & Founder of Vortex Ranker by clicking here.