If you’re trying to boost your local search rankings by using local SEO strategies then making sure to Geo-Tag photos for Google Business Profile is a solid start. Let’s walk through the process step by step.
Also, check out our other guide on how to remove photos from your GBP incase you want to delete your old photos that aren’t Geo tagged.
Table of Contents
- Why Should I Geo-Tag Images on GBP?
- What’s EXIF Data And What Does It Do?
- How To Geo-Tag Your Photos on GBP
- Optimizing Image Names For Local SEO
- Need Help Ranking Your GBP Higher?
Why Should I Geo-Tag Images on GBP?
When you upload images to your Google Business Profile, Google uses more than just the visual content to rank your profile. They also look at the metadata of each individual image or video.
Specifically the location data attached to your photos and videos. This is where Geo-Tagged photos for Google Business Profile becomes a local SEO ranking factor.
In some cases, metadata regarding the image location is already created when the image is taken but not always since it depends on factors like the device used to capture the images having access to internet or GPS while the videos or images are being captured.
By adding location data, you’re telling Google exactly where your business is based, which boosts your chances of showing up in local search results since it’s telling Google that this business is more likely to be accurate and relevant.
Think of it like this: If someone searches for a “plumber near me” and you’ve made sure to Geo-Tag photos for GBP with keywords related to plumbing and your location. Then, Google is more likely to show your profile in the search results because it knows you’re in the right area.

What’s EXIF Data And What Does It Do?
Before diving into how to Geo-Tag photos for Google Business Profile, it’s important to understand what EXIF data is. EXIF stands for Exchangeable Image File Format, it’s part of the metadata embedded in your images.
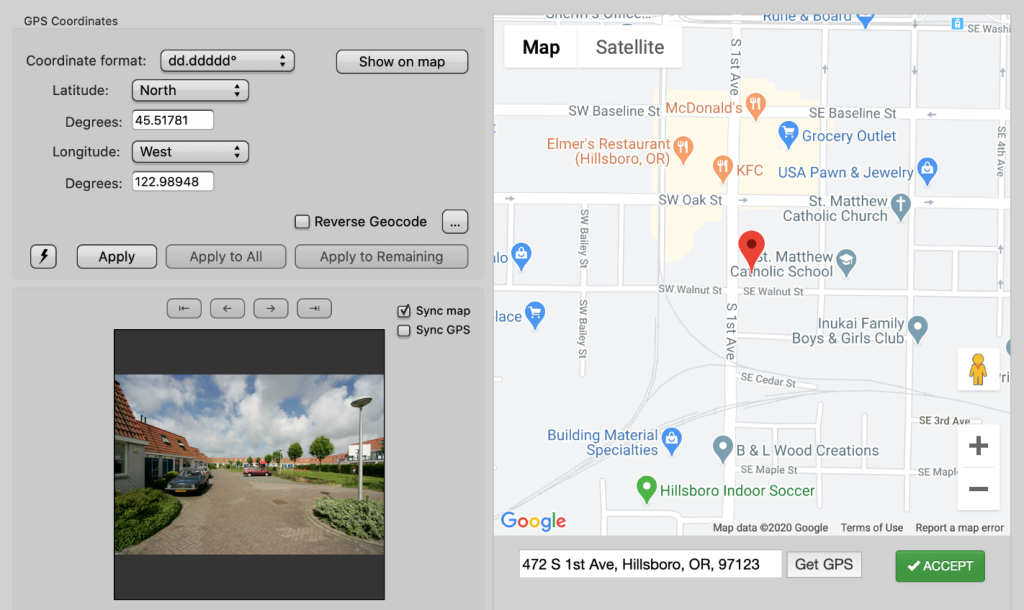
This data includes details like the camera settings, date, and most importantly, GPS coordinates. When you Geo-Tag photos for GBP, you’re adding your business’s exact latitude and longitude to the EXIF data of your images as seen in the screenshot below.
How To Geo-Tag Your Photos on GBP
Now that you understand why it’s super helpful for local SEO to Geo-Tag photos for Google Business Profile, let’s go through the process of how to actually do it. Fortunately, not that complicated and there are tools available to help you get the job done quickly and easily.
1. Choosing The Right Tool
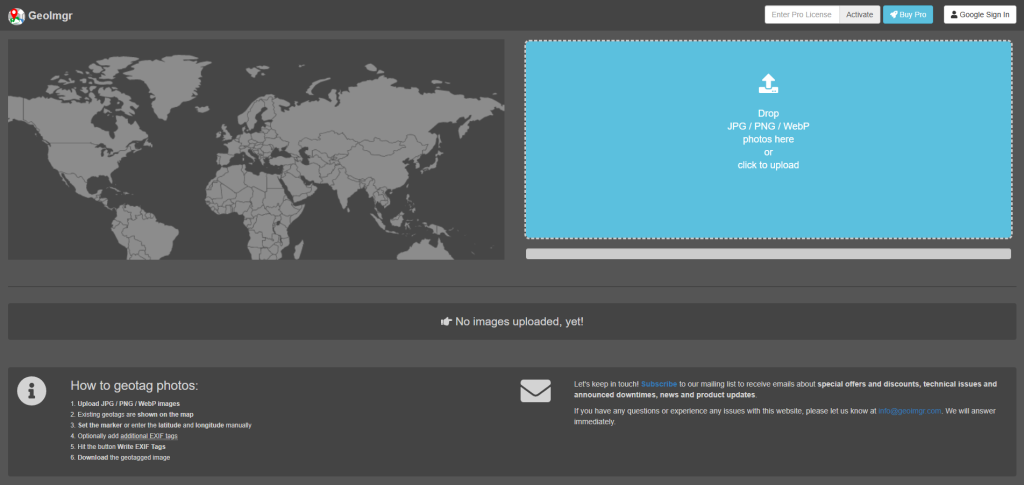
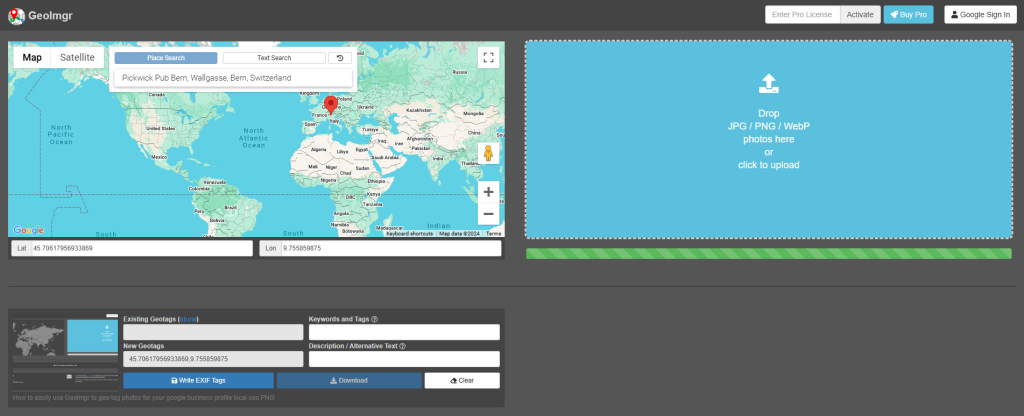
There are several online tools available that make it easy to Geo-Tag photos for GBP. One of the simplest options that’s also free is GeoImgr. This tool allows you to upload your images, find your exact location, and add GPS coordinates to your images EXIF data.
2. Use Your Business Address
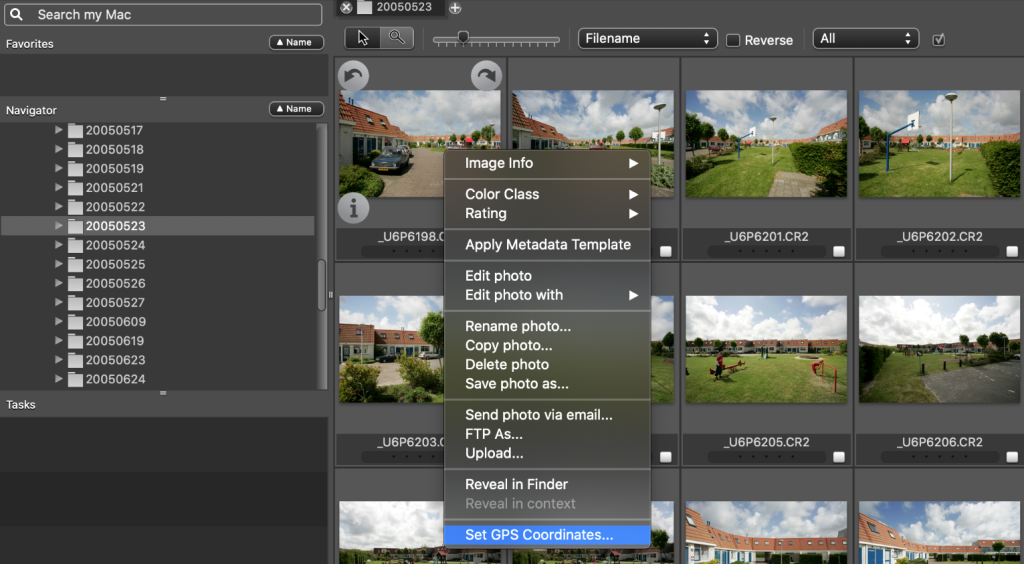
After accessing GeoImgr or a similar Geo-Tagging tool, search for your business by name or input your exact address that’s exactly the same as your Google Business Profile address.
The tool will provide the latitude and longitude of your location. Make sure these coordinates are correct. The wrong latitude and longitude counts as inconsistent NAP data and can hurt your local SEO when you Geo-Tag photos for Google Business Profile.
3. Upload Your Photos To The Tool
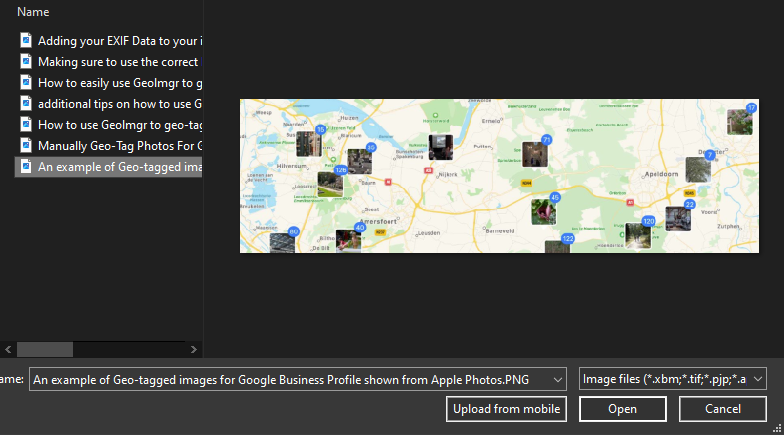
Next, upload the photos you want to use on your Google Business Profile to the tool of your choice, in this example we are using GeoImgr. These could be images of your storefront, products, or even your team in action.
4. Add The Geo-Tags To Your Images
Once you’ve uploaded the image and confirmed your location, manually input your longitude and latitude by searching for your business address on the tool then by clicking the “Write EXIF Tags” button.
5. Download And Upload The Updated Photos
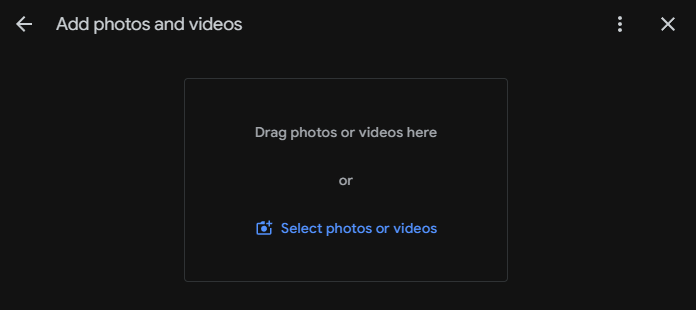
After geo-tagging your photos, download the updated versions with the location EXIF data. Now, you can upload these geo-tagged photos to your Google Business Profile. Make sure to delete the original, untagged images to avoid confusion or duplication.
Optimizing Image Names For Local SEO
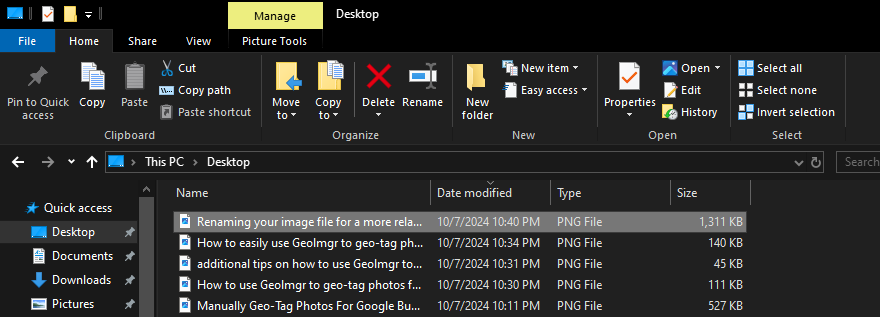
While you just learned how to Geo-Tag Photos for Google Business Profile which is great, don’t forget about naming your image file names. Before uploading any images to your profile, rename them with location specific keywords related to your business and area.
For example, instead of a typical file name like “IMG_1234.jpg,” rename it to something like “best-plumber-dallas-texas.jpg.”
Need Help Ranking Your GBP Higher?
If you are still in need of any assistance or help with ranking your GBP higher or looking to grow your organic search results. Then I highly recommend you book a free consultation with the writer of this article, Ramzy, CEO & Founder of Vortex Ranker by clicking here.
